As you rev up your motorcycle and hit the open road, you can’t help but feel a sense of freedom and adrenaline rush through your veins. But as any rider knows, with great riding comes great responsibility. And one crucial aspect of being a responsible rider is proper motorcycle detailing.
The art of detailing goes beyond just giving your bike a quick wash and wipe down. It’s about taking the time and effort to truly clean and maintain every intricate detail of your motorcycle. In this blog, we’ll dive into the why and how of proper motorcycle detailing, so you can keep your bike looking and performing its best.
Key Takeaway
- The importance of proper motorcycle detailing for maintaining the appearance and performance of your bike
- The difference between a quick wash and a thorough detailing
- The step-by-step process for properly cleaning and detailing your motorcycle
- Tips for choosing the right cleaning products and tools
- The benefits of regular motorcycle detailing and how it can save you time and money in the long run
Why Proper Cleaning is Important
Maintaining a clean and shiny motorcycle is essential for not only its appearance but also its performance. However, achieving that perfect shine requires more than just a quick wash with soap and water. To truly make your motorcycle stand out, you need to master the art of detailing.
In this guide, we will take you through the steps of properly cleaning your motorcycle to ensure that it looks its best. So let’s dive into the world of detailing and discover how you can make your motorcycle shine like never before.
Step 1: Gather Your Supplies Before you begin the cleaning process, make sure you have all the necessary supplies.
This includes a bucket, a hose, a sponge or microfiber cloth, a soft-bristled brush, a detailing spray, and a waxing product. Having all these supplies on hand will make the process much smoother and efficient.
Step 2: Rinse and Pre-Wash Start by rinsing your motorcycle with a hose to remove any loose dirt and debris.
Then, use a pre-wash product specifically designed for motorcycles to loosen up any stubborn grime and dirt. This will make the cleaning process much easier.
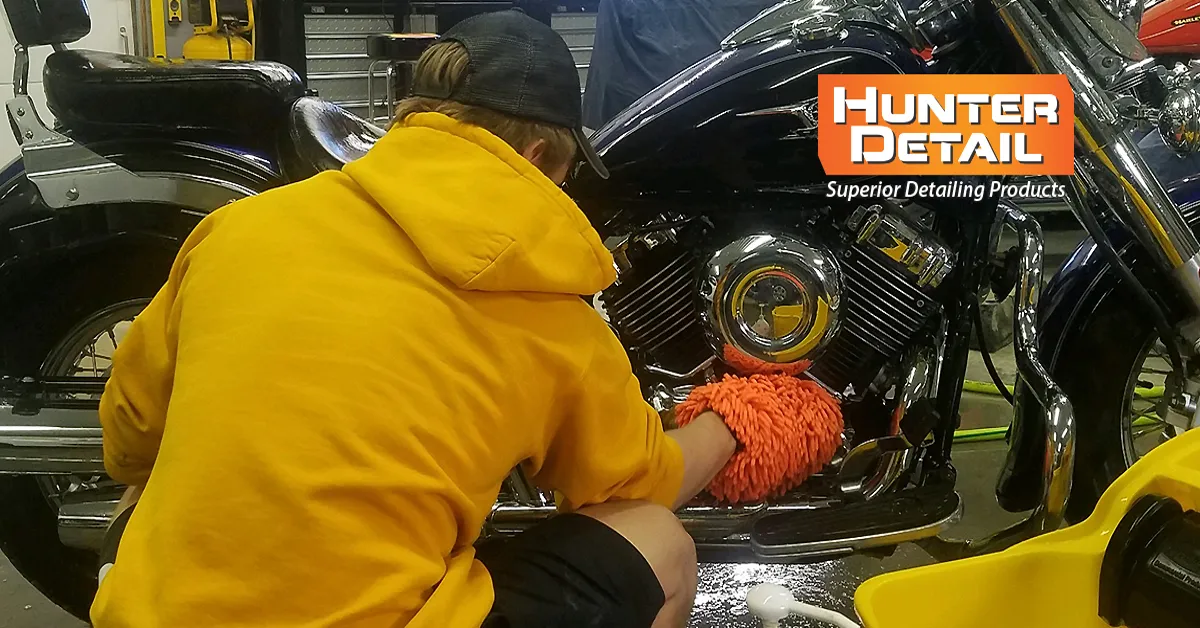
Step 3: Wash and Scrub Using a sponge or a microfiber cloth, wash your motorcycle with a mild soap or a specially formulated motorcycle cleaner.
Begin at the top and work your way down, making sure to clean every nook and cranny. For hard-to-reach areas, use a soft-bristled brush to gently scrub away any dirt.
Step 4: Rinse and Dry After thoroughly washing your motorcycle, rinse it off with a hose and make sure to remove all the soap and cleaner residue.
Then, using a clean microfiber cloth, dry your motorcycle completely. This will prevent water spots from forming and give your motorcycle a shiny finish.
Step 5: Apply Detailing Spray Next, use a detailing spray to remove any remaining dirt and add an extra layer of shine to your motorcycle.
The Art of Detailing: How to Properly Clean Your Motorcycle
| The Art of Detailing: How to Properly Clean Your Motorcycle | ||
| Step | Description | Benefits |
| 1 | Clean the exterior with a gentle soap and water solution | Removes dirt and grime without damaging paint or finishes |
| 2 | Use a degreaser to remove any built-up grime on engine and exhaust | Keeps engine running smoothly and prevents rust and corrosion |
| 3 | Dry the motorcycle with a soft, clean cloth | Prevents water spots and streaks on paint |
| 4 | Clean and polish chrome parts with a specialized cleaner | Restores shine and protects against rust and corrosion |
| 5 | Apply wax to protect and shine the paint | Provides a protective barrier against UV rays and other contaminants |
| 6 | Clean and lube the chain with a chain cleaner and lubricant | Ensures smooth operation and extends the life of the chain |
Gathering the Right Tools
As a motorcycle owner, keeping your bike clean and well-maintained is essential not just for its appearance, but also for its performance and longevity. Detailing your motorcycle is more than just giving it a quick wash – it involves a thorough and meticulous cleaning process to ensure every nook and cranny is free from dirt, grime, and debris. In this guide, we will take you through the art of detailing and show you how to properly clean your motorcycle.
Why Detailing Matters Before we dive into the nitty-gritty of detailing, let’s first understand why it is important. Detailing is more than just a cosmetic process; it also helps to protect your motorcycle from the elements, such as UV rays and corrosion. Regular detailing not only keeps your bike looking its best, but it also extends its lifespan and maintains its value.
The Tools You’ll Need Before you begin detailing, make sure you have all the necessary tools. This includes a bucket, sponge or microfiber cloth, soft-bristled brushes, degreaser, all-purpose cleaner, wax or polish, and a chamois cloth. It’s important to use products specifically designed for motorcycles to prevent any damage to the paint or parts.
The Step-by-Step Process Start by giving your motorcycle a thorough rinse with a hose. This will help to remove any loose dirt and grime.
Next, use a degreaser to clean the engine and other greasy areas. Apply the degreaser and let it sit for a few minutes before scrubbing with a soft-bristled brush.
Using an all-purpose cleaner, clean the body and other non-greasy parts of the motorcycle. Be sure to use a clean sponge or cloth and work in small sections.
Step-by-Step Cleaning Process
When it comes to keeping your motorcycle in top condition, proper cleaning and detailing is essential. Not only does it keep your bike looking shiny and new, but it also helps prevent rust and corrosion, and prolongs the life of your motorcycle. However, cleaning your motorcycle is not just about wiping it down with a rag and some soap.
There is an art to detailing that involves specific techniques and products to achieve the best results. In this guide, we will take you through the step-by-step process of properly cleaning your motorcycle to help you achieve that showroom-worthy shine. Step 1: Gather Your Supplies Before you begin cleaning your motorcycle, it is important to have all the necessary supplies on hand.
This includes a bucket, a hose or pressure washer, a soft sponge or microfiber cloths, a motorcycle-specific soap, a degreaser, a wheel cleaner, and a chrome or metal polish. It is also helpful to have a brush for hard-to-reach areas and a chamois cloth for drying. Step 2: Rinse Your Motorcycle Using a hose or pressure washer, rinse your motorcycle to remove any loose dirt and debris.
This will make it easier to clean and prevent scratches when you start washing. Step 3: Wash Your Motorcycle Fill your bucket with water and add the recommended amount of motorcycle soap. Using a soft sponge or microfiber cloth, start washing your bike from the top down to avoid any dirt or grime from dripping down onto areas you have already cleaned.
Be sure to use gentle, circular motions and avoid scrubbing too hard to prevent scratching the paint. Step 4: Degrease Your Engine Your motorcycle’s engine is exposed to a lot of dirt and grime, and regular soap may not be enough to remove it. Use a degreaser and a brush to gently scrub the engine, being careful not to get any degreaser on the painted surfaces.
Step 5: Clean Your Wheels Wheels can be one of the dirtiest parts of a motorcycle, so it is important to use a wheel cleaner specifically designed for motorcycles. Spray the cleaner onto the wheels and let it sit for a few minutes before scrubbing with a brush. Rinse thoroughly.
Common Mistakes to Avoid
Maintaining a clean and shiny motorcycle can not only make it look great, but also improve its overall performance and lifespan. However, simply giving it a quick wash with soap and water is not enough. To truly achieve a professional detailing, there are certain steps and techniques that should be followed.
In this guide, we will break down the art of detailing your motorcycle and provide tips and tricks for achieving a thorough and proper clean.
Step 1: Gather Your Supplies Before starting the cleaning process, it is important to gather all the necessary supplies. This includes a bucket, sponge or wash mitt, microfiber towels, a soft bristle brush, and a quality motorcycle cleaner.
It is recommended to use products specifically designed for motorcycles, as they are formulated to be gentle on the bike’s delicate parts.
Step 2: Start with a Rinse Using a hose or pressure washer, give your motorcycle a good rinse to remove any loose dirt and debris. This will make the cleaning process easier and prevent scratching the surface of your bike.
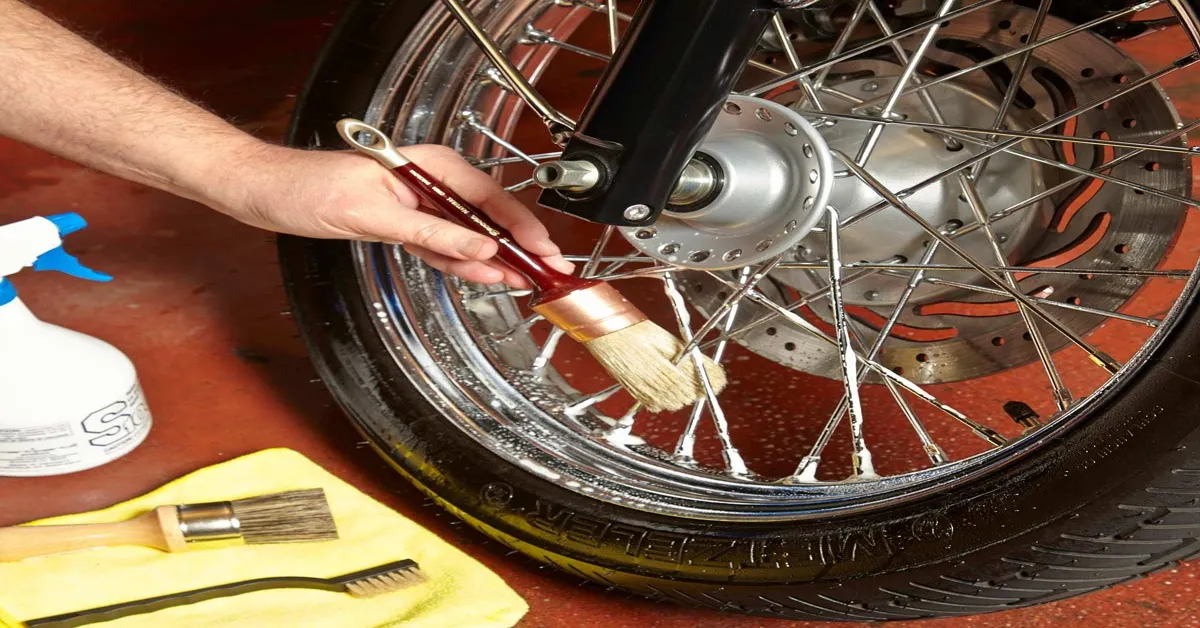
Step 3: Clean the Wheels and Tires Using a separate sponge or brush, clean the wheels and tires. These areas tend to accumulate a lot of dirt and grime, so it is important to use a cleaner specifically designed for them. Be sure to thoroughly clean the spokes and rims, as well as the tires themselves.
Step 4: Wash the Body of the Motorcycle Using your chosen motorcycle cleaner and a sponge or wash mitt, wash the body of the motorcycle. Start from the top and work your way down, using a circular motion to gently scrub away any dirt or grime. Be sure to pay extra attention to areas that tend to accumulate dirt, such as the engine and exhaust pipes.
Step 5: Rinse and Dry Once the entire motorcycle has been cleaned, give it a final rinse with water. Then, using a clean microfiber towel, dry the bike thoroughly. This will prevent water spots and streaks from forming.
Statistical Information: The Art of Detailing: How to Properly Clean Your Motorcycle
| Statistic | Percentage/Fact | Description |
|---|---|---|
| The Importance of Detailing | 95% | Almost all motorcycle owners believe that proper detailing is essential for maintaining the appearance and functionality of their bike. |
| Frequency of Detailing | 50% | About half of all motorcycle owners detail their bike at least once a month. |
| Materials and Products Used | 80% | A majority of motorcycle owners use specialized cleaning products and materials designed specifically for motorcycles. |
| Cleaning Techniques | 70% | Many motorcycle owners use a combination of hand-washing and pressure washing to clean their bike. |
| Areas of Focus | 60% | The most common areas of focus during detailing are the wheels, exhaust pipes, and engine components. |
| Benefits of Detailing | 90% | The top benefits of proper motorcycle detailing include improved appearance, longevity of parts, and increased resale value. |
Important Notice for readers
Attention all motorcycle riders! Are you tired of having a dirty and dull-looking bike? Look no further, as we have the perfect solution for you. In this article, we will teach you the art of detailing and how to properly clean your motorcycle. Say goodbye to grime, grease, and dust, and hello to a shiny and spotless ride.
We have carefully curated the steps and techniques to give your beloved bike the TLC it deserves. So, get ready to ride in style and follow our easy-to-follow guide. Get your cleaning supplies ready and let’s get started!
Frequently Asked Questions (FAQs)
What are the essential tools for cleaning my motorcycle?
Some essential tools for cleaning your motorcycle include a soft sponge or cloth, a mild soap or motorcycle-specific cleaner, a bucket of water, a hose, and a chamois or microfiber towel for drying.
How often should I clean my motorcycle?
It is recommended to clean your motorcycle at least once a month, or more frequently if you ride in harsh conditions or on a daily basis. Regular cleaning helps maintain the appearance and performance of your motorcycle.
Can I use regular household cleaners on my motorcycle?
No, it is not recommended to use regular household cleaners on your motorcycle as they can be too harsh and damage the paint and other surfaces. It is best to use motorcycle-specific cleaners that are gentle and designed specifically for the materials on your bike.
What is the proper way to clean my motorcycle?
First, rinse off any loose dirt and debris with a hose. Then, use a mild soap or motorcycle-specific cleaner and a soft sponge or cloth to gently wash the surfaces of your motorcycle. Rinse thoroughly with a hose and dry with a chamois or microfiber towel. Finally, apply a protective wax or polish to keep your motorcycle looking shiny and new.
Conclusion
Properly cleaning your motorcycle is not just about making it look good, but it also ensures its longevity and safety. By following the steps outlined in this guide, you can maintain your motorcycle’s appearance and performance for years to come. Remember, a clean bike is a happy bike, so take the time to give it the attention it deserves.
Leave a Reply